
PS Mobile Manager
Setting up push notifications
Without any setup, the app checks the shop by itself and notifies you about orders with a delay of up to about 15 minutes. After you complete this guide, notifications arrive within a few seconds.
You do this once, on a computer, in about 5 minutes:
- you create a free Firebase project (a Google service),
- you download two files from it,
- you upload them in the shop back office.
All you need is a Google account.
1. Create a Firebase project
Firebase is free.
- Go to console.firebase.google.com and sign in with your Google account.
- Click the “Get started by setting up a Firebase project” tile. If you already have other projects, you will see “Create a project” instead.
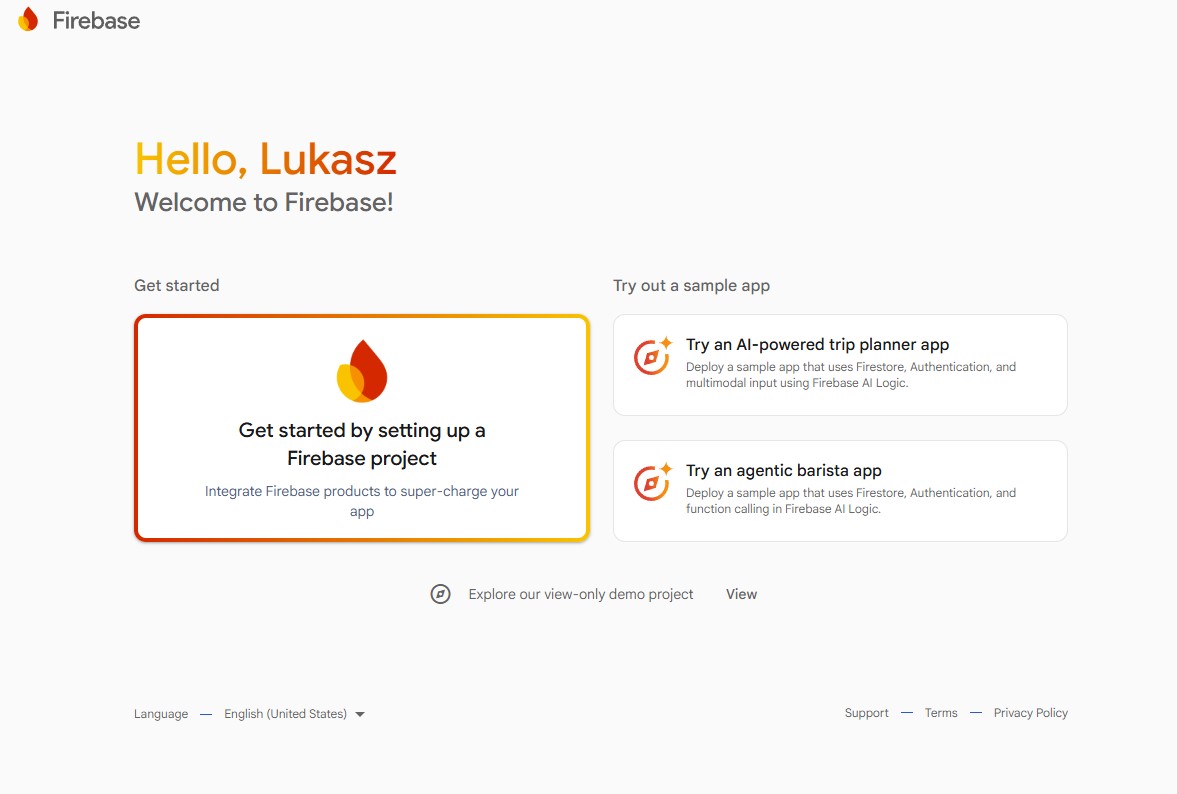
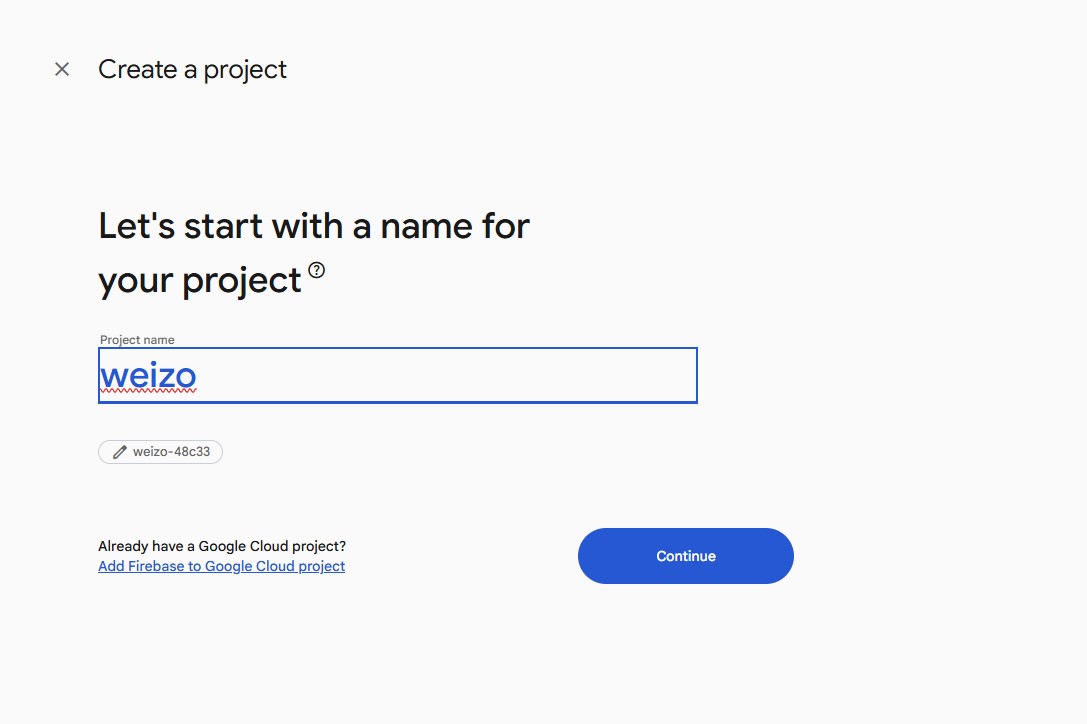
- Enter a project name, e.g. your shop name: letters, digits and spaces only, no dots. Click “Continue”.
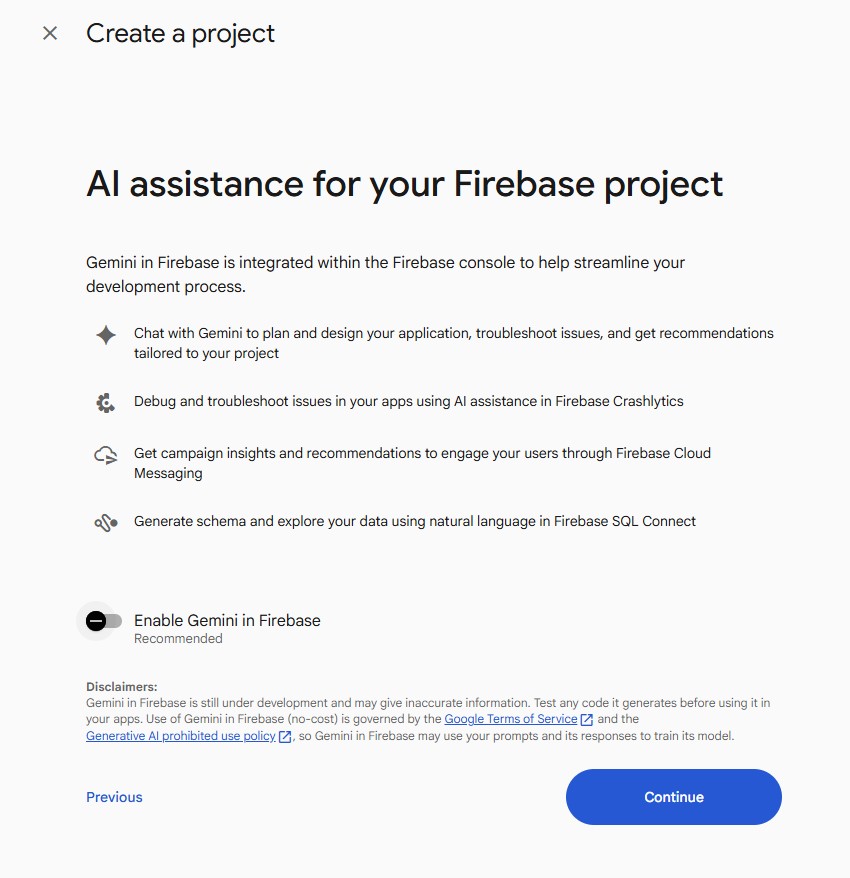
- Leave the “Enable Gemini in Firebase” switch off. Click “Continue”.
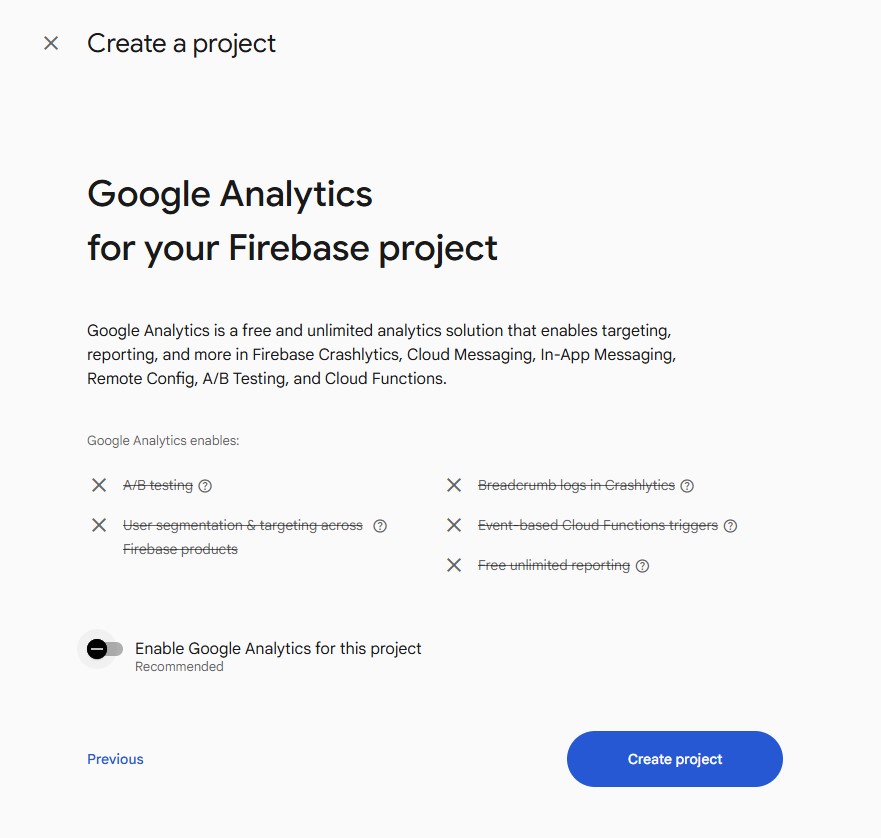
- Turn the “Enable Google Analytics for this project” switch off as well. Click “Create project” and wait until the project is ready.
2. Add an Android app and download the first file
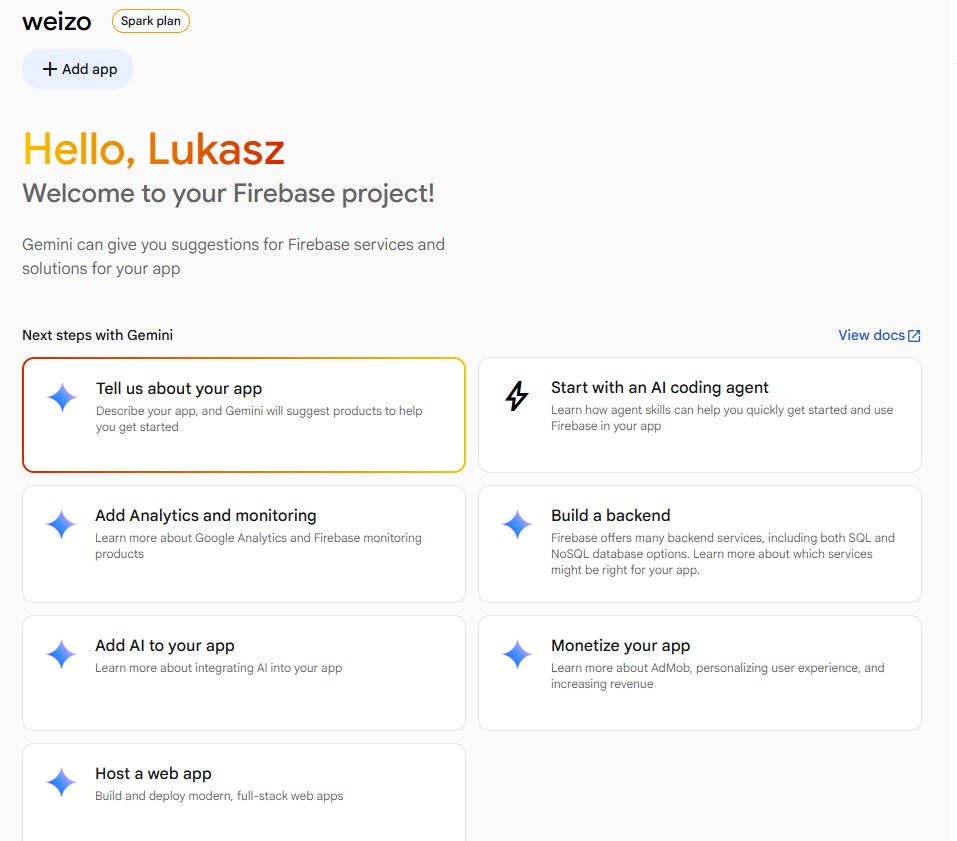
- On the project page click “+ Add app” below the project name.
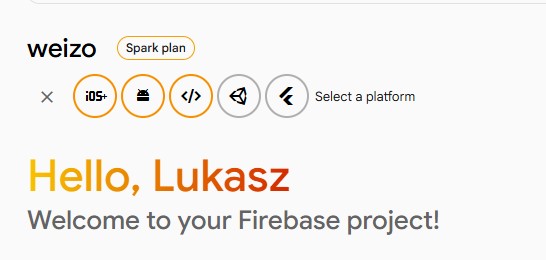
- From the icons that appear, choose Android (the green robot, second from the left).
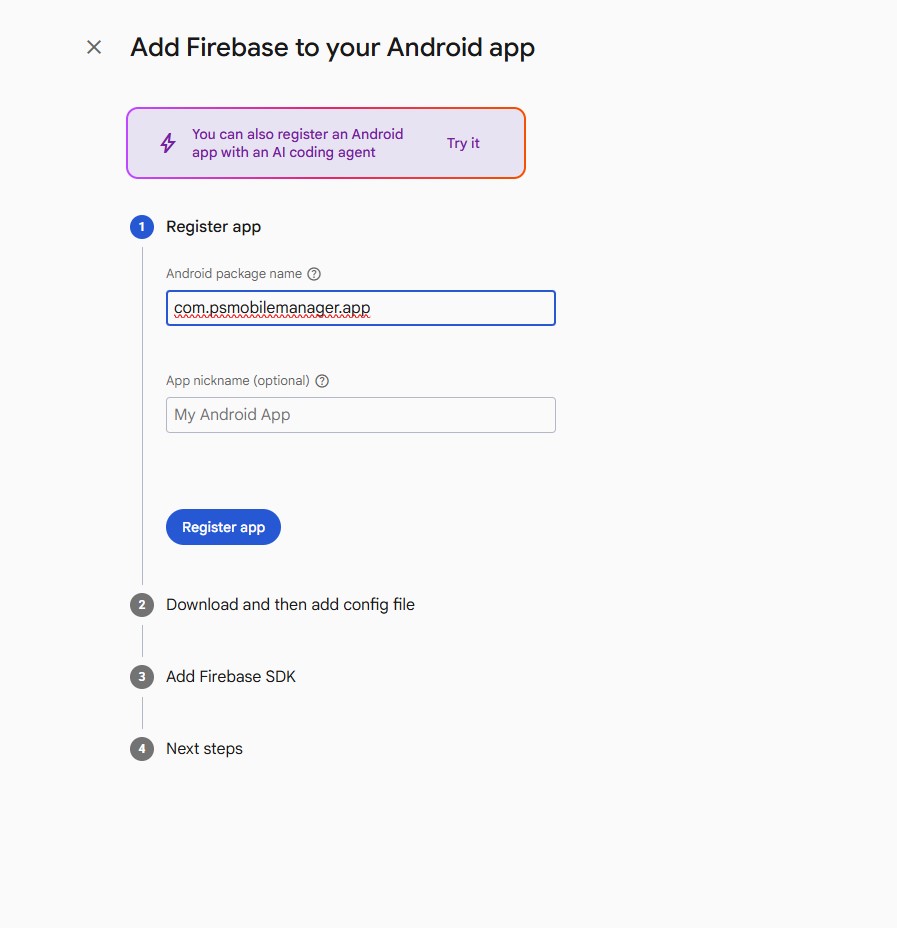
- In the “Android package name” field paste the following:
com.psmobilemanager.appLeave the second field empty. Click “Register app”.
- Click “Download google-services.json”. This is the first file.
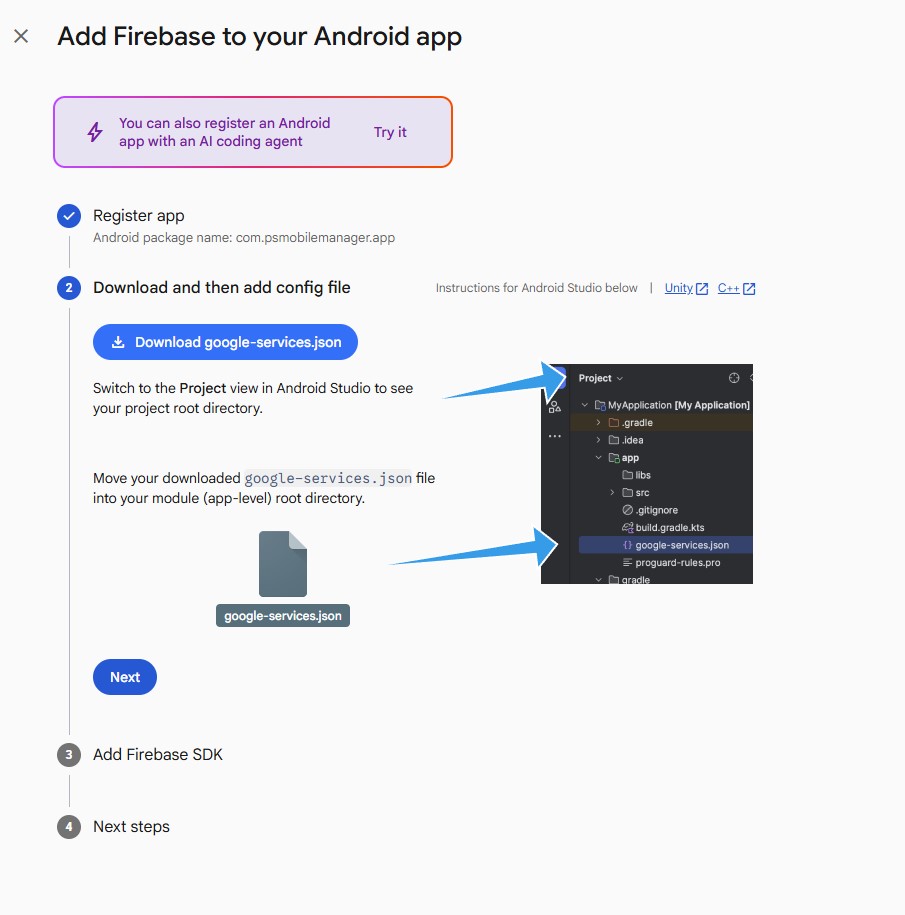
- Skip the rest of the wizard, the remaining steps are for developers. Close it with the X in the top-left corner.
3. Download the second file: the service account key
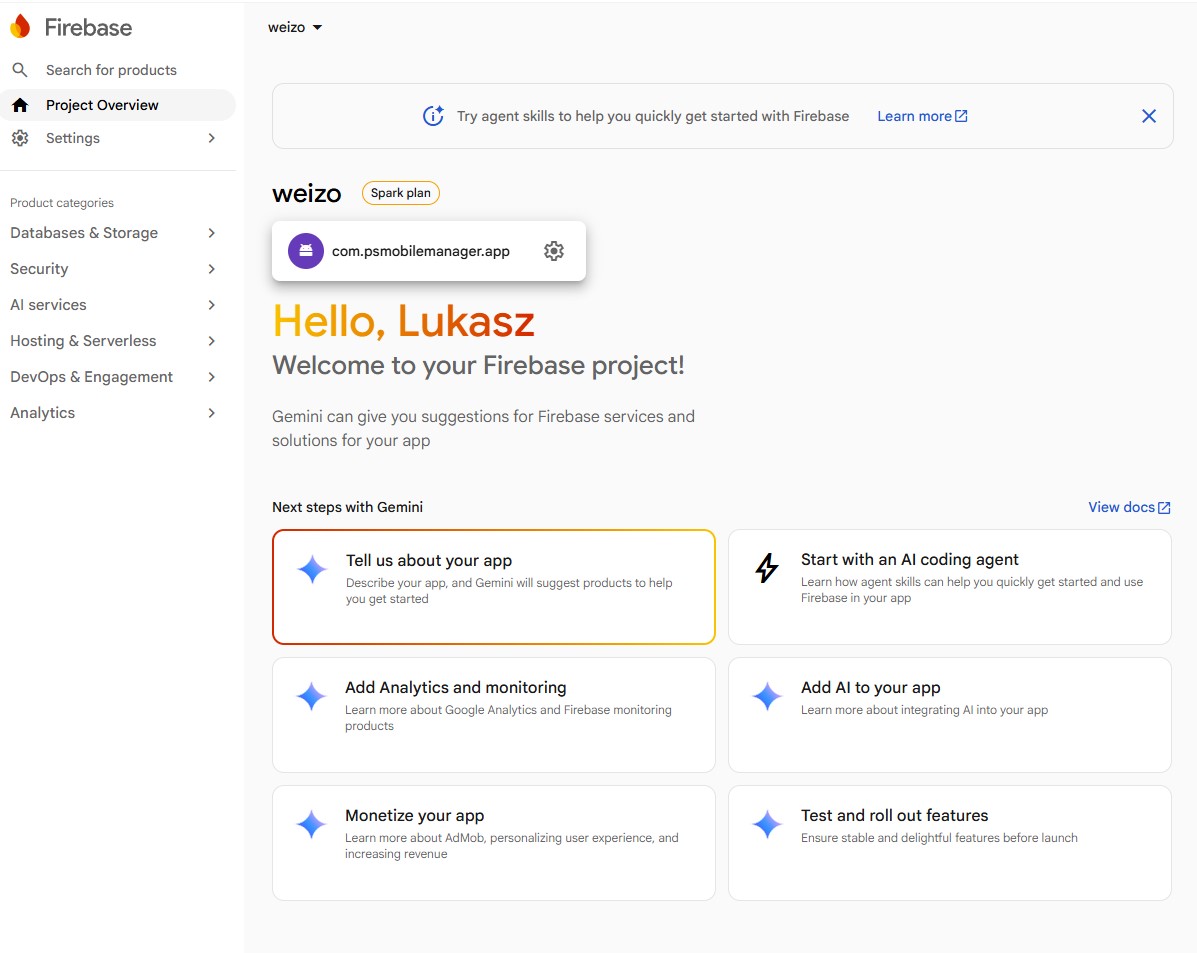
- In the left menu click “Settings” (the gear icon) and choose “Project settings”.
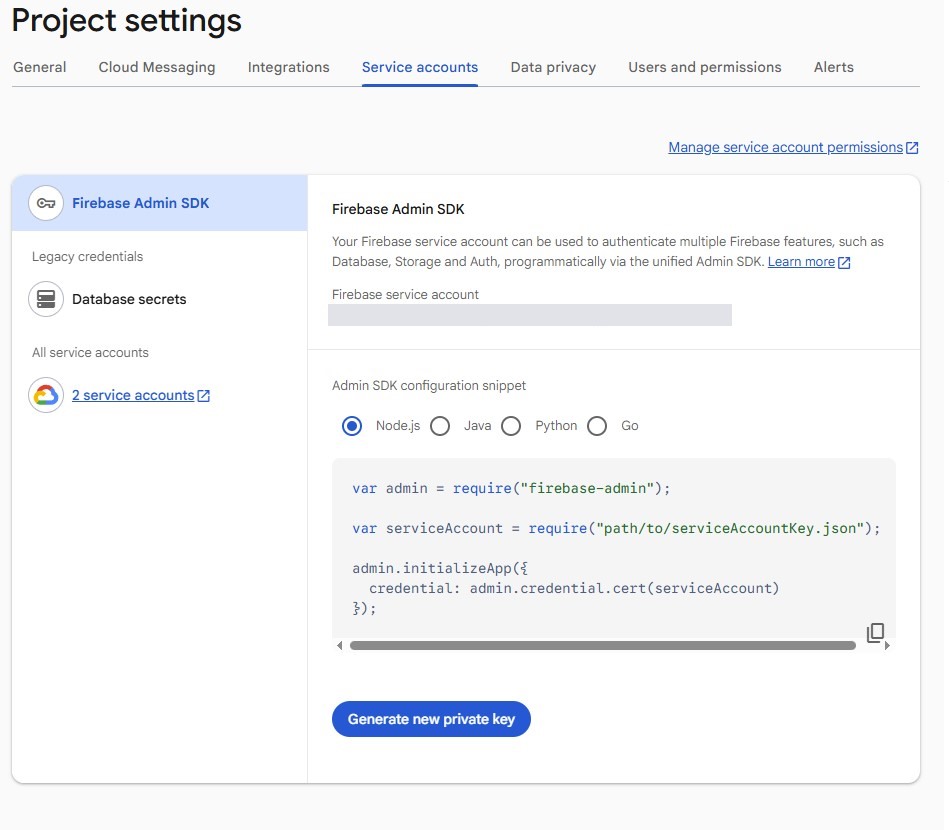
- Open the “Service accounts” tab.
- Click “Generate new private key” and confirm. A JSON file with a long name downloads. This is the second file.
This file is secret. Do not send it to anyone. After uploading it to the shop (step 4), delete it from your disk.
4. Upload both files in the shop back office
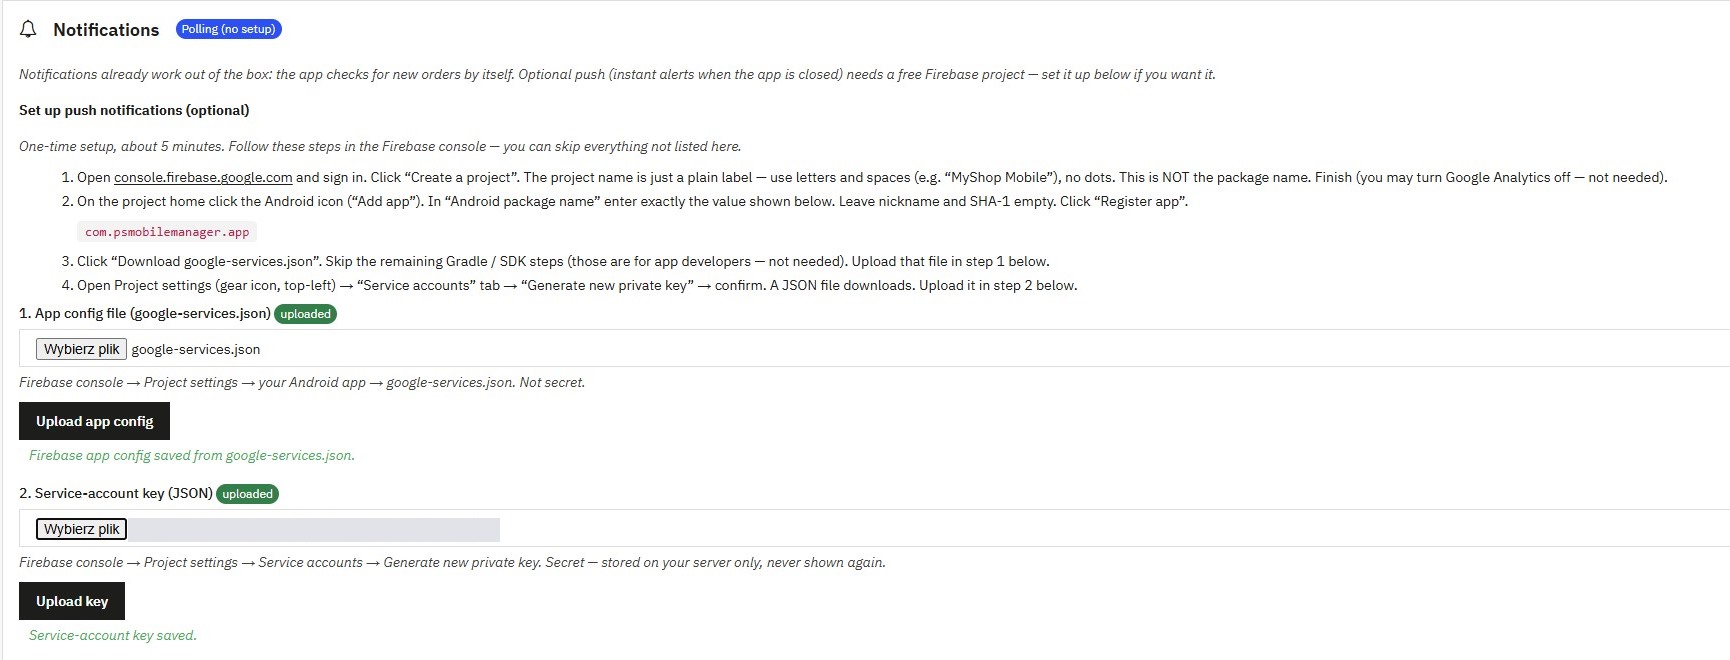
- In the shop back office open Modules → Mobile Manager and scroll to the “Notifications” section.
- In the “1. App config file (google-services.json)” field choose the first file and click “Upload app config”.
- In the “2. Service-account key (JSON)” field choose the second file and click “Upload key”.
- A green “uploaded” label appears next to both fields. Done.
Phone paired earlier? Just open the app on it and it will switch to instant notifications by itself.
Instant notifications require an active licence. In demo mode you can upload the files, but the app still checks the shop by itself about every 15 minutes.